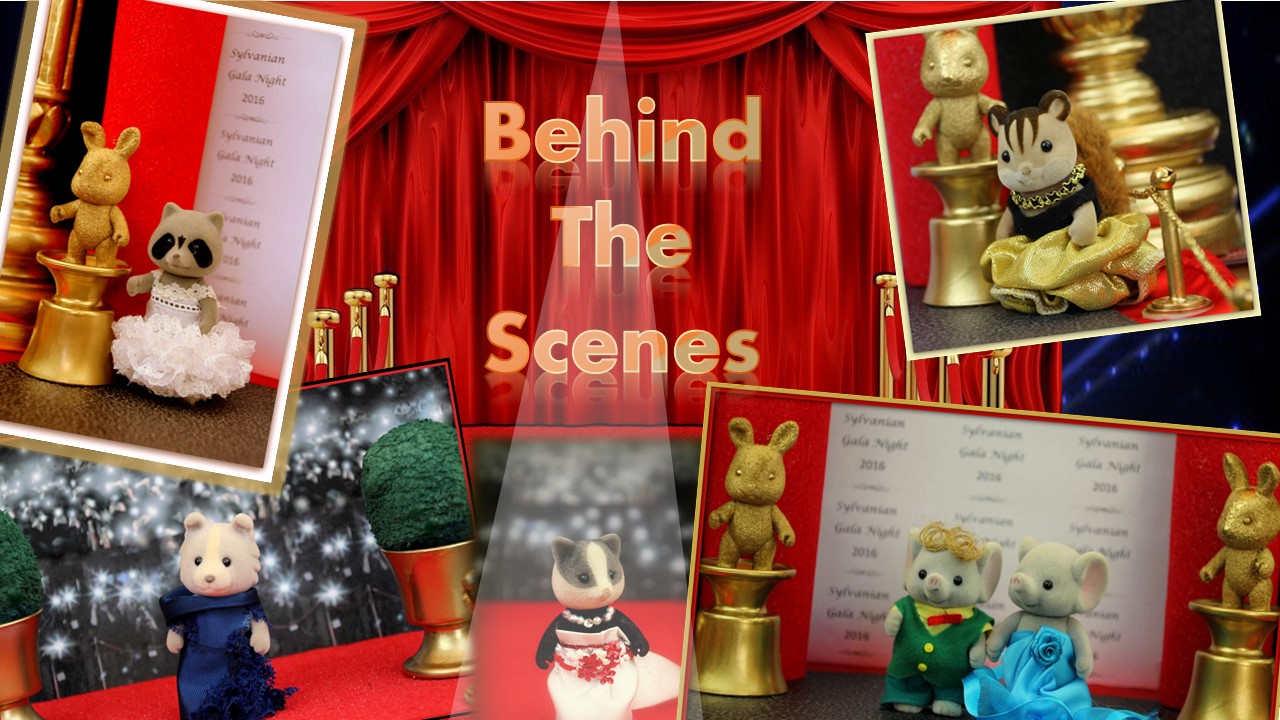
*******Behind the Scenes*******
___________A look at the photos__________
_______behind the photos________
*Tips * Tricks * DIY *
and Secrets Behind the Shots
***********Golden Urns**********
and
********Golden Statues********
(and the sad tale of Ingrid Blackberry...:(
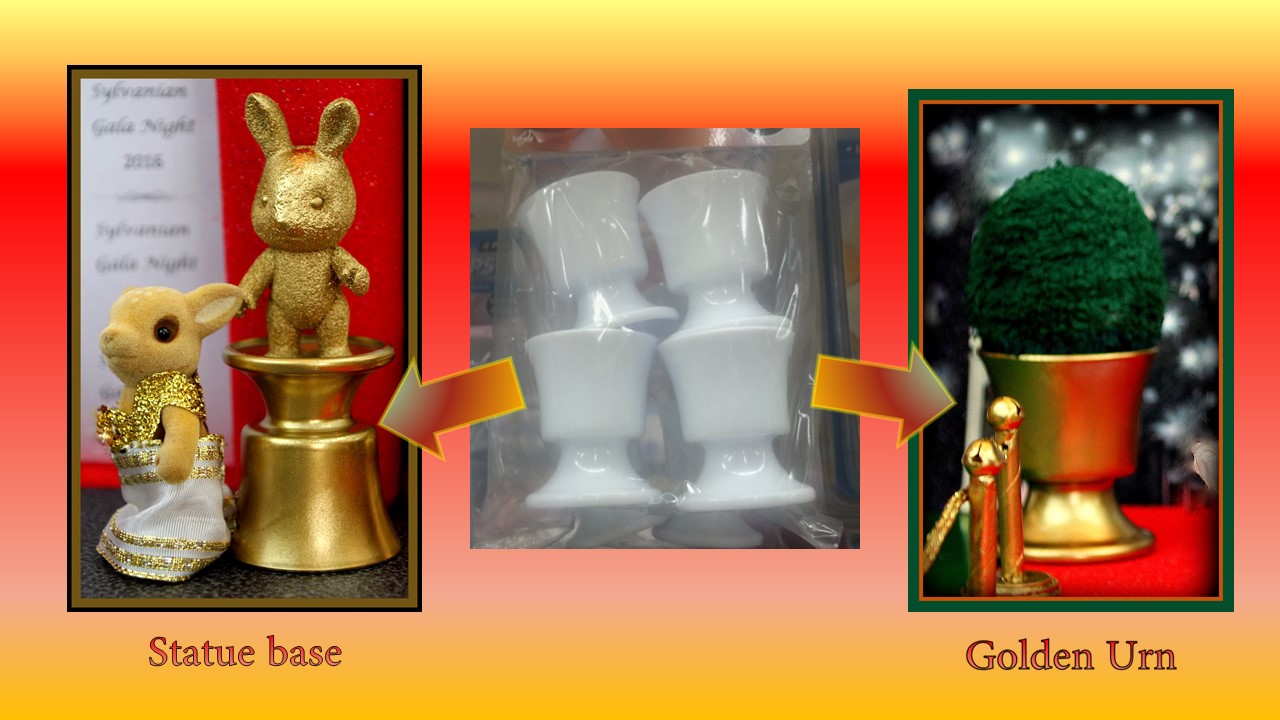
A trip to the two dollar store gave me my inspiration for the golden urns. I was looking for something suitable to place my topiary shrubs in, and found these cheap plastic egg cups. A few coats of my trusty gold spray paint (of which I've nearly finished a whole can after this photo shoot!)
 And seeing how they turned out, I then decided they would work quite well for the statue base. The golden rabbit balances well on the base.
A set of 4 plastic egg cups - value $2
***********Golden Urns**********
and
********Golden Statues********
(and the sad tale of Ingrid Blackberry...:(
A trip to the two dollar store gave me my inspiration for the golden urns. I was looking for something suitable to place my topiary shrubs in, and found these cheap plastic egg cups. A few coats of my trusty gold spray paint (of which I've nearly finished a whole can after this photo shoot!)
A set of 4 plastic egg cups - value $2

These should be easy enough to repaint (perhaps to a concrete colour) for future use, perhaps in a park setting or similar.
For readers familiar with my blog posts, do you recognize the rabbit on the left in this statue?

Oh no! Yes, I'm afraid it is...
Ingrid Blackberry from the Great Australia Outback Adventure!!

Unfortunately, due to her adventure, Ingrid didn't come out of it very well. After multiple falls into the river (not part of the story!)... a few too many tumbles in the outback red dust....Ingrid became quite discoloured and lost flocking in places.


So it was with regret that Ingrid got chosen to be one of the golden statues! I'd become quite attached to Ingrid after going through her adventure with her, so this was not easy to do....
So...
Several coats of gold spray paint (this can of paint is nearly running on empty!)
Another child rabbit of similar size with bad flocking loss (one that came in a bundle who fortunately I was not attached too :)

As I was running to time and only began spray painting the golden rabbits the day before the photoshoot, I spray painted them heavily 5 or 6 times to get a complete gold-coloured coating. Probably it would have worked better, with less coatings and lighter spraying if this was done over several days, with a good amount of time for the flocking to completely dry before the next spraying.
ps I must add, I did purchase another second hand Ingrid and camping set before embarking on this project... so "Ingrid" is still alive and well. :)
Thanks for checking out my DIY posts
Awesome statues! I know Santie has painted figures, but I hadn't thought of spray paint on Sylvanians - nice to see it works for statue look at least.
ReplyDeleteThis was super interesting - I’d quite like a statue at some point. I’m wondering if those speckled stone finish spray paints would look okay or if they’d be too lumpy. Also - Ingrid is now immortalized in gold, what a life she’s had - every toy’s dream to have muddy adventures, be featured in a photostory, then be dipped in gold! I’m glad Ingrid lives on in another body, but oh what a life!
ReplyDelete